There’s a growing wave of beauty enthusiasts eager to take control of their nail care and style by learning how to create your own nails. Whether you’re tired of expensive salon visits or just love the satisfaction of crafting your own nail designs, this trend is reshaping how we approach manicures. Creating your own nails at home offers a creative outlet and a way to customize your look exactly how you want it.
However, many beginners feel overwhelmed by the range of products and techniques involved. From selecting the right tools to mastering clean application methods, the process can seem daunting. This expert guide breaks down everything you need to know to make your own nails with confidence, from essential materials to inspiring design ideas and care tips.
In this article:
Essential Tools and Products to Create Your Own Nails
Before diving into nail art, having the right tools is key to creating polished, professional-looking nails. Basic essentials include a good quality nail file, buffer, cuticle pusher, and nail clippers. These help prepare your nails for any type of design or polish application. Investing in a sturdy LED lamp and quality gel polishes can elevate your DIY manicure to salon standards.
Additionally, consider acquiring detail brushes for intricate designs and a selection of base and top coats to protect and seal your work. Using high-quality products not only improves the look but also extends the wear of your nails. For inspiration on specialized tools, check out our brushes for nail design article to learn which brushes will transform your nail art.
Organizing your supplies and setting up a dedicated space will streamline your process and make creating your own nail design a fun, stress-free experience.

Step-by-Step Guide to Create Your Own Nails at Home
Creating your own nails starts with preparation. Begin by removing any old polish and gently shaping your nails with a file. Next, push back cuticles to create a clean canvas. Buff your nails lightly to smooth the surface, ensuring better polish adherence. Always wash your hands to remove dust before applying any products.
Apply a base coat to protect your natural nails, followed by two thin layers of your chosen polish. Allow each layer to dry thoroughly to avoid smudging. Finish with a top coat to seal the design and add shine. When using gel polish, curing under an LED lamp is essential for durability.
Practicing these steps regularly will improve your technique and confidence. For design ideas, explore seasonal inspirations such as Easter Nail Designs 2026 or Valentine Nail Designs 2026 to keep your nails trendy.

Creative Ideas to Create Your Own Nails Designs
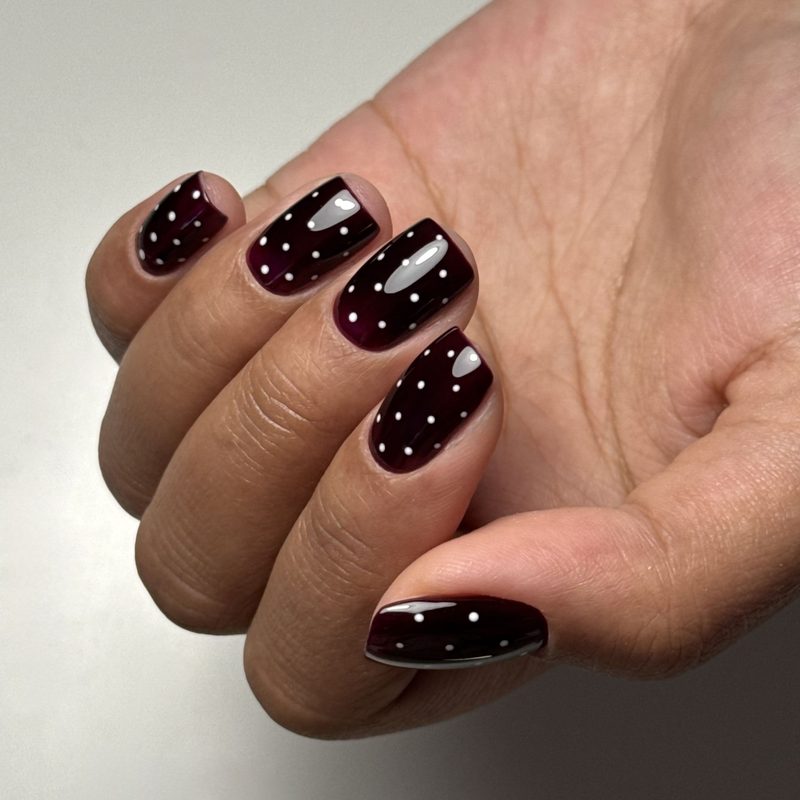
Once you’ve mastered the basics, it’s time to get creative. From minimalist styles to bold, edgy looks, the possibilities are endless. For example, mixing neutral bases with subtle glitter accents creates a chic everyday design. Alternatively, try geometric patterns or floral motifs for more intricate nail art that stands out.
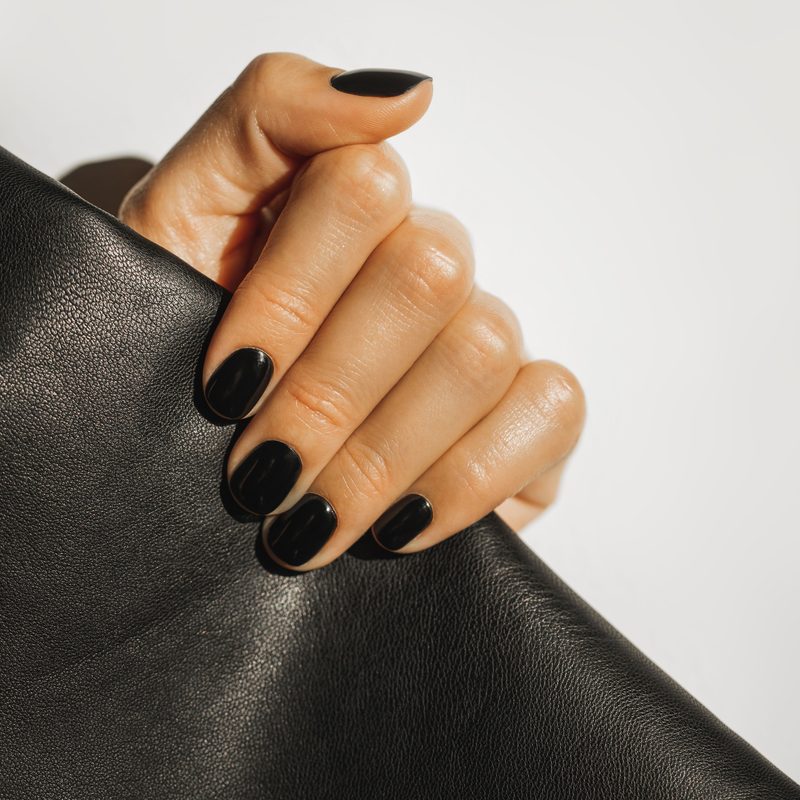
Experimenting with colors and textures allows you to personalize your nails for any occasion. For a seasonal touch, you can try darker shades and metallic finishes inspired by elegant edgy black nail designs, or warm tones that complement summer styles like those in our top summer designs for toe nails article.
Remember, creativity is about making your own nails designs uniquely yours. Use stencils, stickers, or freehand brushes to explore different effects and develop your signature look.
Common Mistakes to Avoid When You Create Your Own Nails
Even experienced DIY nail artists can fall into common pitfalls. One frequent mistake is applying polish too thickly, which leads to longer drying times and smudges. Applying thin, even coats ensures a smooth finish and durability. Another error is neglecting proper nail prep, which can cause polish to chip prematurely.
Skipping a top coat or using expired products can also diminish results. Always invest in fresh, quality polishes and seal your designs well. Lastly, rushing the drying process risks ruining your work—patience is a vital ingredient.
Being mindful of these challenges will help you refine your technique, making the process of how to create your own nails more rewarding and long-lasting.
How to Maintain and Care for Your DIY Nails
Maintaining your nails after creating your own nails is essential to keep them looking fresh and healthy. Hydrate your cuticles daily with nourishing oils to prevent dryness and peeling. Avoid using your nails as tools to reduce breakage and chips. Wearing gloves during household chores protects your manicure from harsh chemicals.
Regularly applying a clear top coat every few days can extend the life of your design. If you use gel polish, proper removal techniques are crucial to avoid damaging your natural nails. For more on nail care, consider refreshing your style with timely seasonal designs like Mother’s Day Nail Designs.
With consistent care, your DIY nails can stay vibrant longer while keeping your natural nails strong and healthy underneath.
Frequently Asked Questions
What is the easiest way to create your own nails at home?
Start with basic nail prep: clean, file, and buff your nails. Then apply a base coat, two thin layers of your chosen polish, and finish with a top coat. Using gel polish and an LED lamp can make your manicure last longer. Keeping coats thin and letting each layer dry fully helps achieve a smooth, professional look.
Can I create professional-looking nails without salon tools?
Yes, you can create beautiful nails at home using basic tools like nail files, buffers, and regular polish. While salon tools like LED lamps and gel polishes enhance durability, careful application and patience produce impressive results. Start simple and gradually build your collection as your skills improve.
How do I create your own nails designs that last longer?
To prolong your nail designs, prep nails properly, use quality base and top coats, and apply thin polish layers. Seal edges with top coat and reapply it every few days. Avoid activities that damage nails and wear gloves when cleaning. Gel polish cured under LED lamps typically lasts the longest.
Are there any safety tips when making your own nails?
Always work in a well-ventilated area to avoid inhaling fumes from nail products. Avoid using expired polishes or harsh chemicals. Be gentle with cuticles to prevent injury and infection, and give your nails breaks between manicures to stay healthy.
Where can I find inspiration to create your own nails designs?
Explore seasonal and trending nail design articles like Easter Nail Designs 2026 or Valentine Nail Designs 2026 for fresh ideas. Social media platforms, beauty blogs, and magazines are also great sources for inspiration.
Learning how to create your own nails empowers you to express your personal style while saving time and money. With the right tools, techniques, and a touch of creativity, you can achieve salon-quality results in the comfort of your home. Start experimenting today and elevate your nail game with confidence.